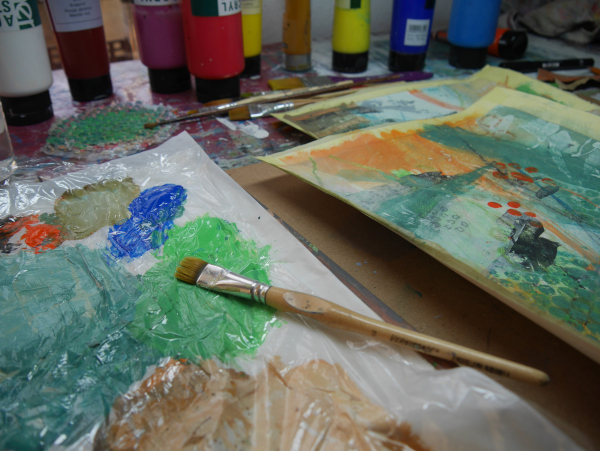
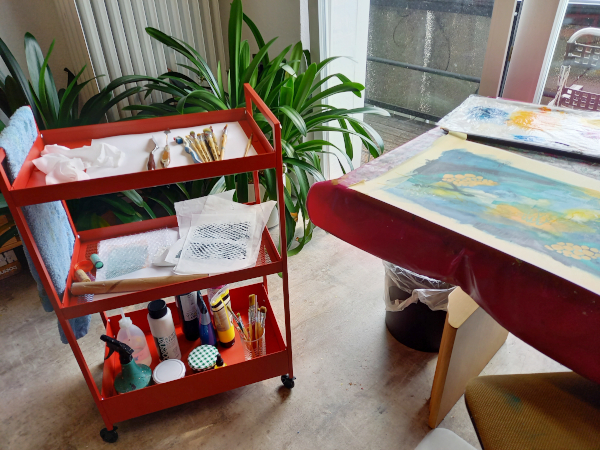
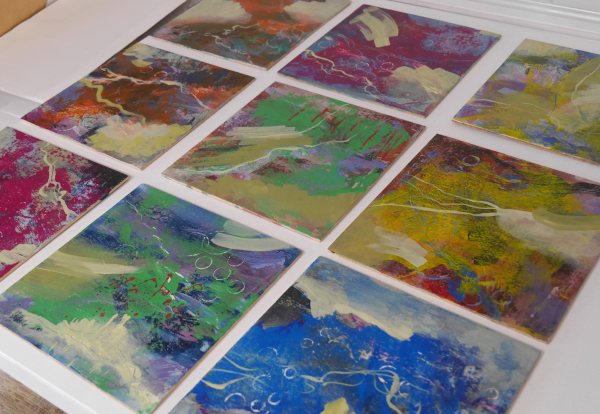
Bei vielen Künstler*innen habe ich sie gesehen, die Wände im Atelier mit Haken oder Schauben in regelmäßigen Abständen. Leinwände unterschiedlicher Größe können dort einfach aufgehängt werden – gerne auch mehrere neben- oder übereinander – und dann wird daran gearbeitet.
Vorteile:
- Wie auf der Staffelei kann am senkrechten Bild gearbeitet werden, was z.B. das Laufenlassen von dünnflüssiger Farbe vereinfacht.
- Wie an der Staffelei kann ich meinen Abstand zum Bild verändern, was am Tisch nicht so einfach geht.
- Die Bilder stehen nicht auf der Staffelei auf, die Bildränder sind also alle frei. Ich kann Pinselgesten machen, die über den Rand hinausgehen, ohne dass etwas stört.
- Wenn ich mehrere Bilder aufhänge, kann ich an ihnen parallel arbeiten, sie währenddessen vergleichen.
- Die Bilder lassen sich einfach und schnell drehen, um z.B. bei abstrakten Bildern den Blick darauf zu verändern.
Diese Möglichkeiten hätte ich auch gerne. Aber leider gibt es in meinem kleinen Atelier nur eine lange Wand ohne Fenster und Tür und ohne Dachschräge. An der steht allerdings das große Regal mit all meinen Materialien, das kann nirgends anders hin.
Was also tun? Die Staffelei zu einer Art mobilen Mal-Wand machen!
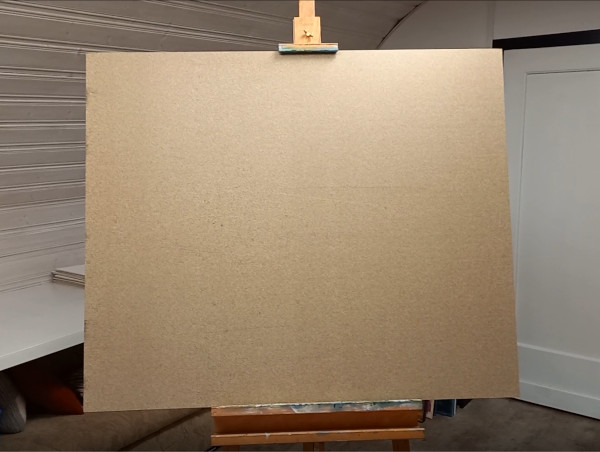
Eine einfache Spanplatte im Format 100 x 120 cm ist stabil genug (und leider recht schwer).
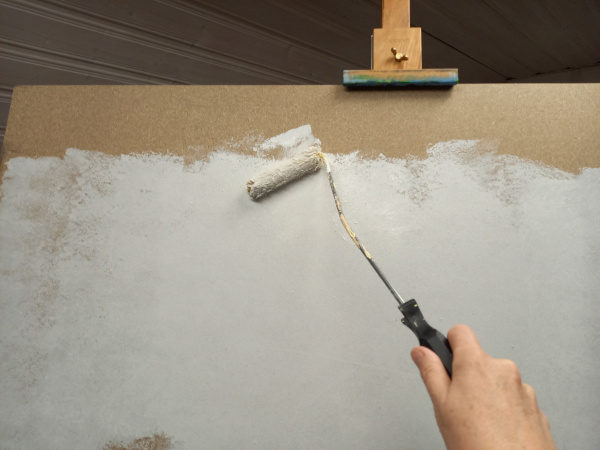
Ich streiche sie mit weißer Wandfarbe an, damit ich einen hellen, gleichmäßigen Hintergrund habe.
In Gedanken bin ich die verschiedenen Keilrahmengrößen durchgegangen und habe überlegt, wie viele Schrauben ich zum Aufhängen haben möchte und wo sie sitzen sollen. Achtung, bei den größeren Keilrahmen gibt es Stege in der Mitte des Rahmens.
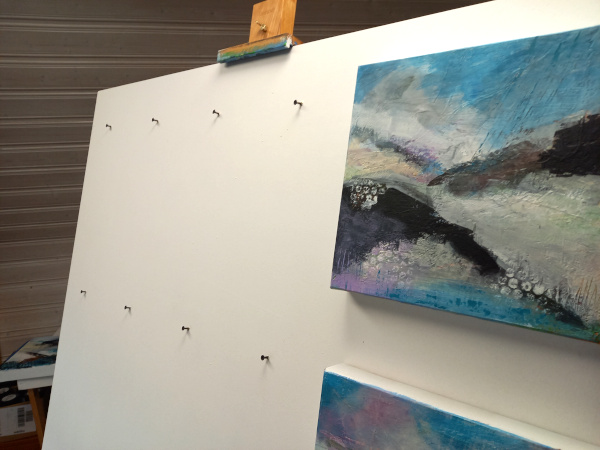
Damit ich Keilrahmen ab einer Größe von 30 cm Seitenlänge aufhängen kann, wähle ich als waagerechte Abstände jeweils 20 cm. Die erste Schraube sitzt 10 cm vom Seitenrand, bei 120 cm Brett-Breite insgesamt also sechs Schrauben pro Reihe. Die erste Reihe ist 10 cm vom oberen Rand entfernt, die zweite Reihe 45 cm tiefer.
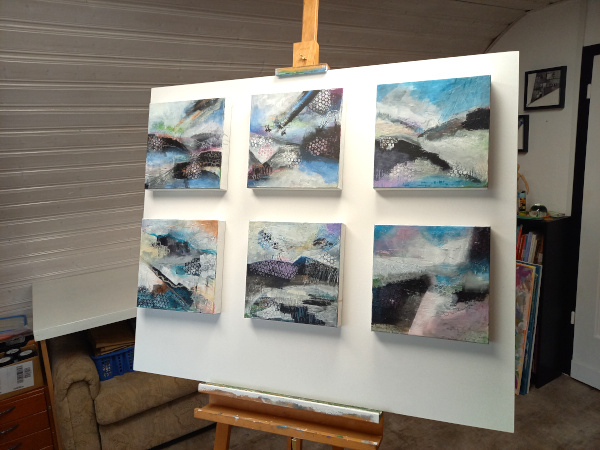
So kann ich zum Beispiel sechs Keilrahmen im Format 30 x 30 cm aufhängen oder vier im Format 40 x 40 cm. Bei größere Rahmen sind je nach Format zwei oder einer möglich.
Nachdem ich den Dezember zum Schreiben genutzt habe – den Zitate-Adventskalender und ein bisschen Journal mit Jahresrückblick und Ausschau – geht es jetzt endlich wieder mit Pinsel und Farbe an die Arbeit. Ich freue mich drauf und bin gespannt, wie das mit meiner neuen Mal-Wand funktioniert.
In the studio: Easel converted into a mobile painting wall
I have seen them with many artists, the walls in the studio with hooks or screws at regular intervals. Canvases of different sizes can simply be hung up there – even several next to or on top of each other – and then work is done on them.
Benefits:
- As on the easel, you can work on the vertical painting, which, for example, simplifies the running of thin-bodied paint.
- As with the easel, I can change my distance to the painting, which is not so easy at the table.
- The paintings do not stand on the easel, so the edges of the painting are all free. I can make brush gestures that go over the edge without anything interfering.
- If I hang up several paintings, I can also work on them at the same time, while comparing them.
- The canvases can be rotated quickly and easily, e.g. to change the view on an abstract painting.
I would also like to have these options. But unfortunately there is only one long wall in my small studio without windows and doors and without a sloping roof. On that, however, is the large shelf with all my materials, it can’t go anywhere else.
So what to do? Turn the easel into a kind of mobile painting wall!

A simple chipboard in the format 100 x 120 cm is stable enough (and unfortunately quite heavy).

I paint it with white wall paint so that I have a light, even background.In my mind I went through the different canvas sizes and thought about how many screws I would like to have for hanging and where they should be. Attention, with the larger canvases there are bars in the middle of the frame.

So that I can hang up canvases with a side length of 30 cm or more, I choose 20 cm as the horizontal spacing. The first screw sits 10 cm from the side edge, with a board width of 120 cm a total of six screws per row. The first row is 10 cm from the top, the second row 45 cm lower.
For example, I can hang up six canvases in the format 30 x 30 cm or four in the format 40 x 40 cm. With larger frames, two or one are possible, depending on the format.
After using December to write – the Quotes Advent calendar and a bit of journalling with a review of the year and a look-out – I’m finally back to work with brush and paint. I’m looking forward to it and I’m curious how it works with my new painting wall.
